I didn’t realize how ready I was for Spring until I started working on some new Spring projects as part of the Friend Friday Hop Heidi Sonboul had invited me to join. As soon as I started working with the bright, beautiful colors, I felt my spirits lift. It may have been snowing outside, but there was suddenly sunshine in my heart and boy, did I need that!! I found myself smiling the entire time I was working on the projects! And I especially fell in love with this sweet Spring bunny!
When I picked up this little Styrofoam bunny at the Dollar Tree, I had no clue what I would do with it.
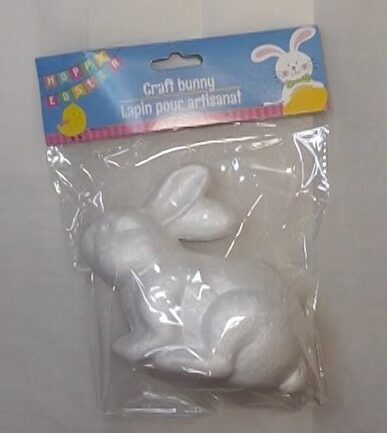
When I picked up this little Styrofoam bunny at the Dollar Tree, I had no clue what I would do with it. At first, when I started approaching this particular craft, I thought I might cover her with moss… but then what? I wasn’t sure I wanted a bunny just covered in moss. I needed to come up with something more to do with her. She needed a cage, or display stand or… a pedestal!
The thought of a pedestal sparked a new idea. I thought of a dainty, pretty, ceramic bunny sitting on display. Something elegant and pretty, but not fussy. So, now my project shifted from moss to mod podge.
Typically, when I mod podge things of this nature, I use pretty decorative napkins. This has always given me a good excuse to pick up pretty, disposable hand towels from Bed, Bath and Beyond or the local grocery store: I needed them for crafting! Of course, I only ever needed one or two the the napkins/hand towels from each pack. So, the rest could be used in my guest bathroom and allow me to feel all kinds of fancy! (Haha!)
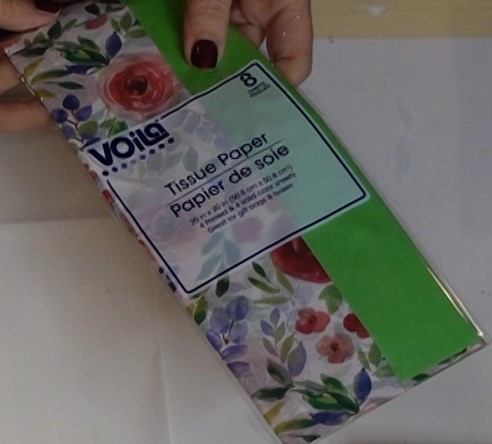
I wanted something bright and cheery for this Spring bunny, but hadn’t picked up any hand towels/napkins like that recently. Knowing I had some pretty, floral tissue paper in my stash that I’d gotten from Dollar Tree over the summer, but hadn’t had the opportunity to use, I decided to try that. I was thrilled with the results!
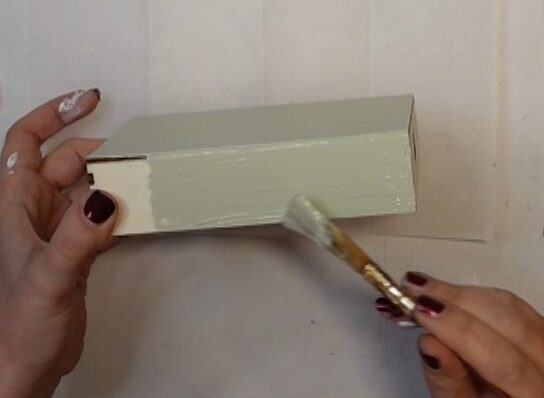
First, I gave our little bunny friend a good coat of Adirondack White Chalk Paint by Home Décor. While she was drying, I took out a small tray from my stash; my sister had picked up for me from Michael’s for just $0.99 plus 20% off. Such a great deal! I gave the tray one coat of Celery Chalk Paint by Waverly and set that aside to dry.
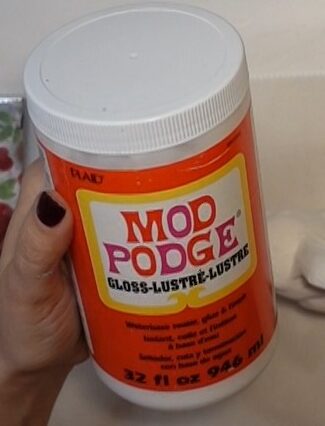
Once Bunny’s paint was dry, I pulled out my floral tissue paper and gloss mod podge. I wanted her to have a shiny finish, so she would look like porcelain. To use the tissue paper, I needed to “cut” out the design elements so I could apply them to the bunny in a way that would create the fewest wrinkles possible. That meant identifying individual flowers or other elements of the design I wanted to use and separating them from the whole.

I was pleasantly surprised by the reaction to the neat hack I used to do that: If you take a fine paint brush with the smallest/narrowest tip you can find, dip it in water and then “draw” a water line around the image you want to “cut,” you will create an area that can be easily torn away from the rest of the image. Using the water provides more control over where the rips occur. The benefit of tearing your paper vs. cutting it with scissors, is that it helps the edges of your design elements to disappear when you mod podge them. When you cut the elements with scissors, the harsh line tends to be easily seen on your project.
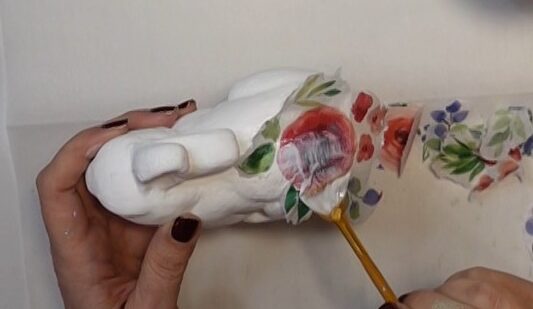
Now that I had all of my floral design elements torn away from the sheet of tissue paper, I took a fan brush, applied a coat of gloss mod podge to a small area of the bunny, placed the first flower element over the mod podge, and then coated that little piece of tissue paper with more mod podge. I was careful to ensure everything was smooth and sealed around the edges. I continued in that manner, fitting various pieces of the tissue paper around the bunny, like putting a puzzle together. My sweet Spring bunny was starting to take shape!
You could certainly overlap your design elements and create a look with a much denser design, but I purposely chose to leave a fair amount of white space on my bunny to give her a light, airy feel. Once I was pleased with her design, I set her aside to dry and went back to her crate/pedestal.
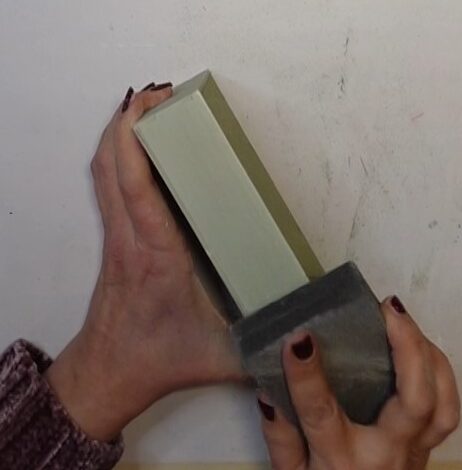
Using a Dollar Tree sanding block, I distressed the edges and corners of the little pedestal to give it more of a worn, rustic look. Then, I pulled out the chalk board labels that came along with my Arteza chalk paint markers. I found one that would fit nicely on the front of the little crate stand I was creating, wrote “BUNNY” on it, and adhered it to the front of her pedestal.
Finally, once she had dried, I gave Miss Bunny one more good coat of gloss mod podge to ensure everything was covered and sealed, and allowed her to dry overnight.
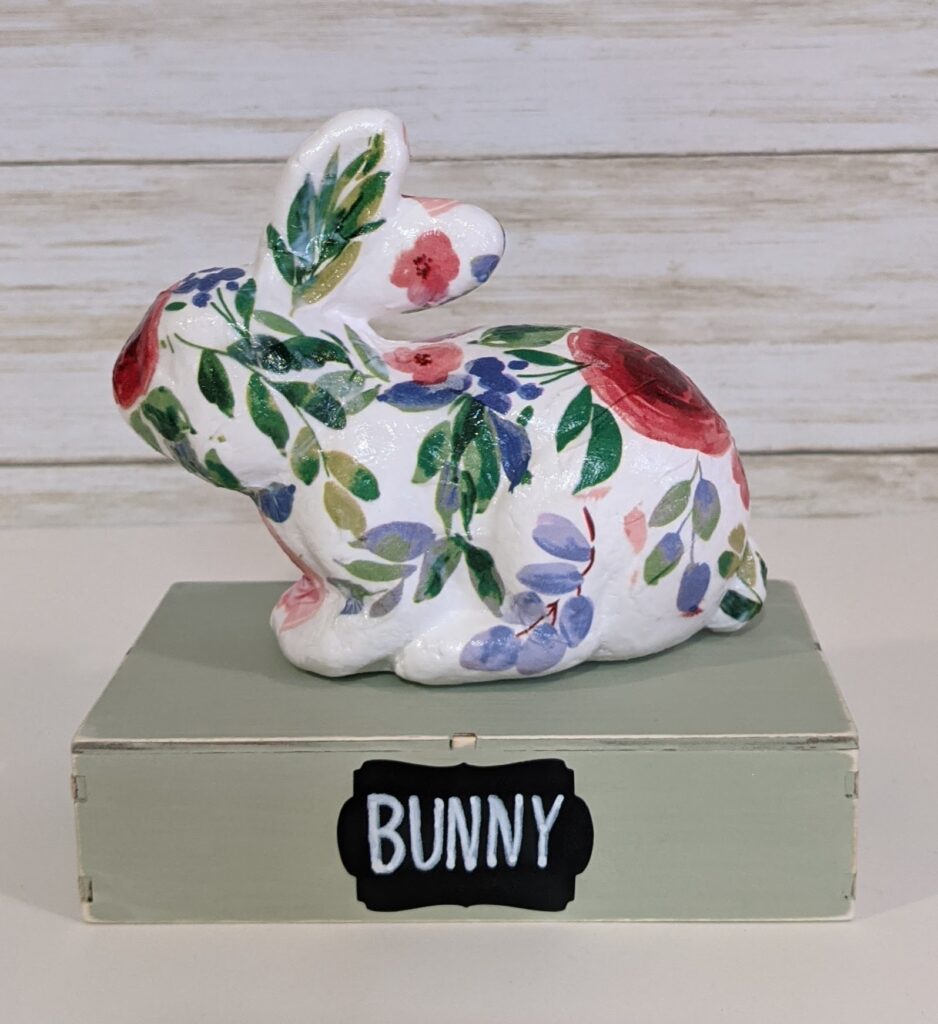
I think this sweet Spring bunny is adorable! I’m so pleased with how she turned out and I hope you love her too! The full video tutorial can be found on my YouTube channel here: https://youtu.be/RR1QFeVS_t8
Thank you so much for being her! Take good care and stay safe! Be well, be kind and make it a great day! XOXO, Corie
Note: The links on this page are affiliate links and I may earn a small commission if you purchase something through one or more of the links.

Leave a Reply