Hello 2021!!! I’m so happy you’re finally here! While I can find silver linings in 2020, I think we’re all ready for a fresh beginning with lots of hope for a great new year. As I look back on my personal journey this last year, I know I largely kept my mind off of more challenging subjects by delving into this new adventure of starting a YouTube channel. I am so thankful I decided to take the leap, I’m eternally grateful to all of my subscribers who have joined me on this journey and encouraged me along the way, and I am humbled by the growth I’ve experienced. There are no words for what it has meant to me. Thank you to you all.
So, as I look out at the landscape of the year to come, I see new adventure – and a whole lot of crafts and DIYs! A part of the adventure is this new website/blog. I hope it will provide you with inspiration and a bit more insight into what goes on behind the scenes. This is a place for me to share more about me, my approach to projects, free printables for you and, hopefully, a sense that if I can do this, so can you!
…I’m eternally grateful to all of my subscribers who have joined me on this journey and encouraged me along the way…
Over the holidays, I had the opportunity to create a pallet wall – something I’d been talking about doing for months! Better yet, my son, Jordan, was home for the holidays and we constructed it together.
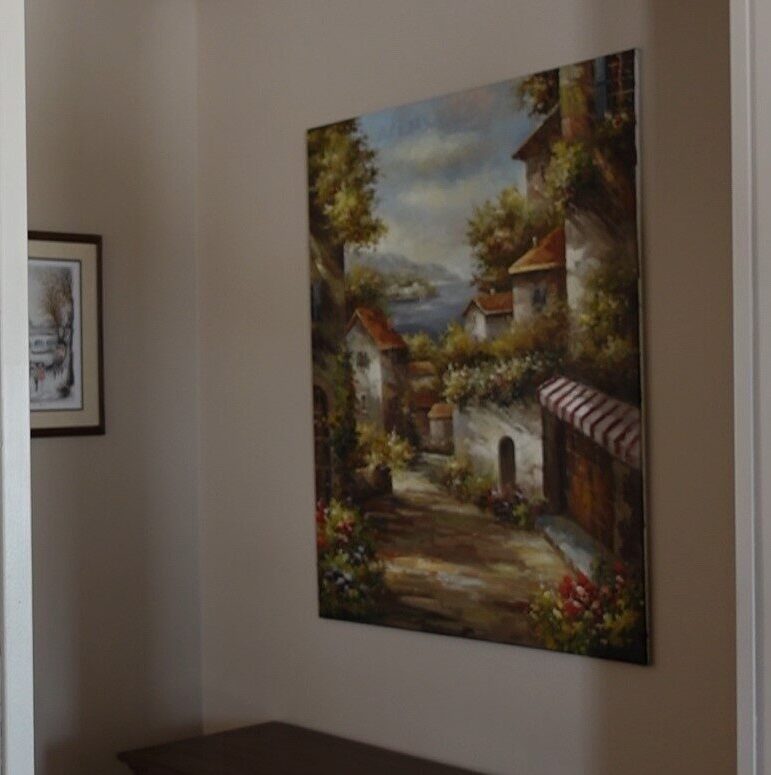
1. We measured the wall we wanted to cover so we’d know exactly how to lay out the wall with the pieces of pallet wood. We measured from ceiling to baseboard molding – we left the molding in place and planned to have the last row of pallet wood abut the molding.
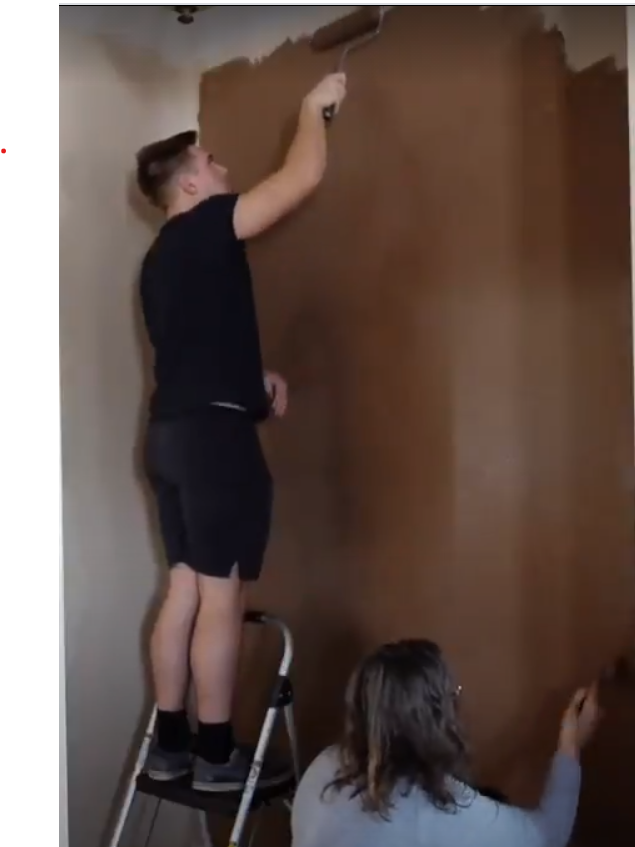
2. Using a dark color, we painted the wall we were going to be covering with the pallet wood. The reason for this was to ensure any gaps between the boards wouldn’t be noticeable. The dark color simply becomes part of the shadows.
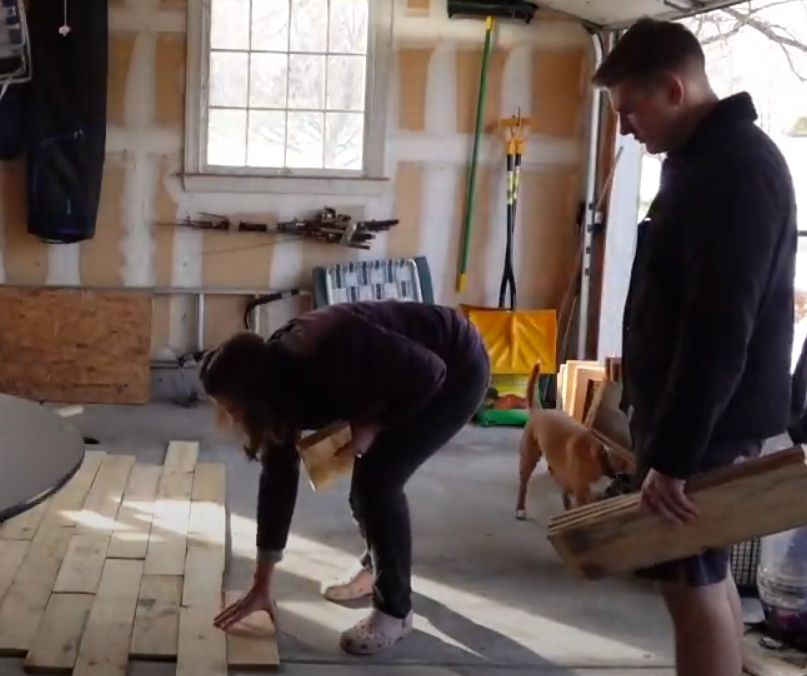
3. While the wall was drying, we headed out to the garage and laid out the boards in the pattern we wanted, staggering the boards from one row to the next, allowing the sides to be staggered and not flush with one another. Then, we measured off the proper length and height. The boards came to the exact height we needed by some form of miracle, so no cuts were needed along that bottom row. Had cuts been needed, we would have trimmed at the bottom, with the thought it would be the least noticeable. We trimmed down the boards on either side, as needed to accommodate the pattern and the 6′ length we needed.
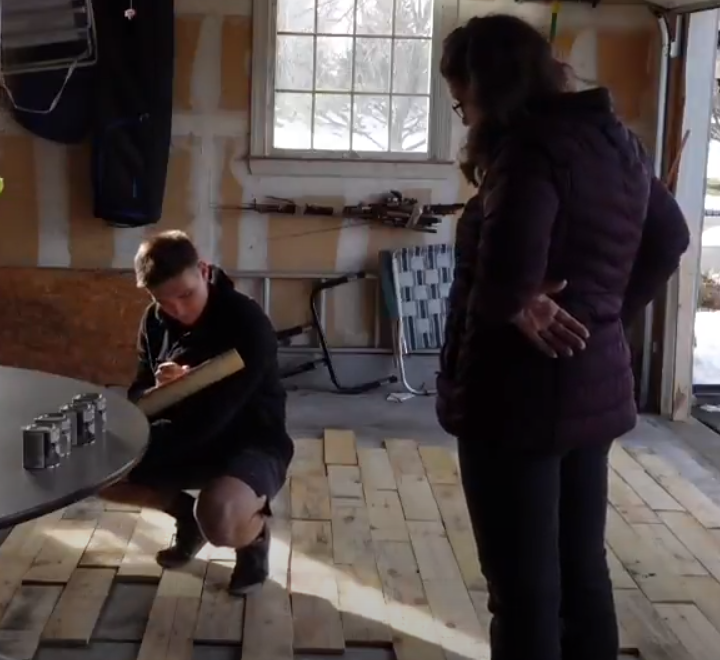
4. I had four different colors of wood stain I’d selected for the project. Once everything had been laid out and measured, we went back through, numbered all of the boards in order from left to right and top to bottom so we could gather up the boards for trimming, sanding and staining and know how to put them back together again. As we were numbering them, we also identified the stain pattern we wanted to use and marked the back of each board accordingly alongside its number.
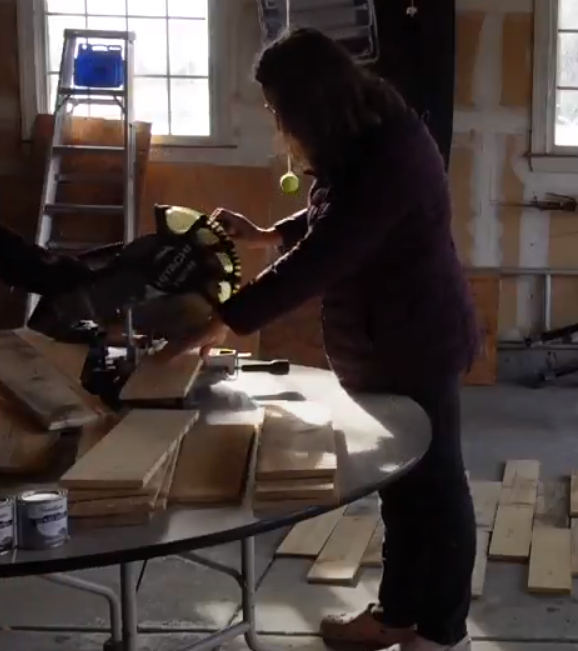
5. Once everything was marked, we took all of the boards from the left and right edges and cut them down to size, per the markings we made when we measured them.
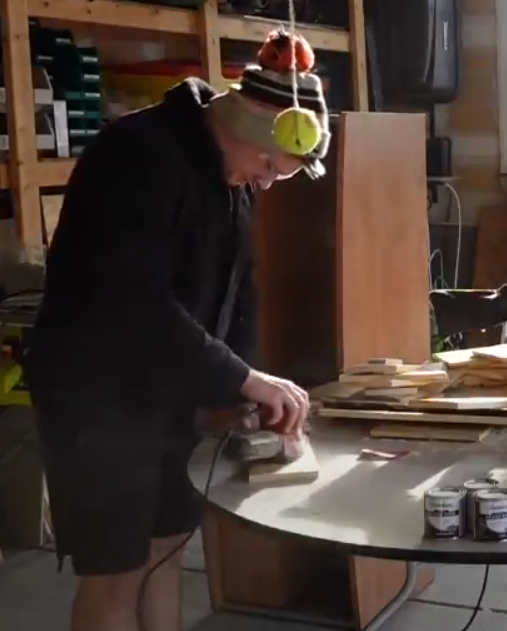
6. We then gathered up the boards, separated them by the color we wanted them to be, sanded and stained them with the respective colors.
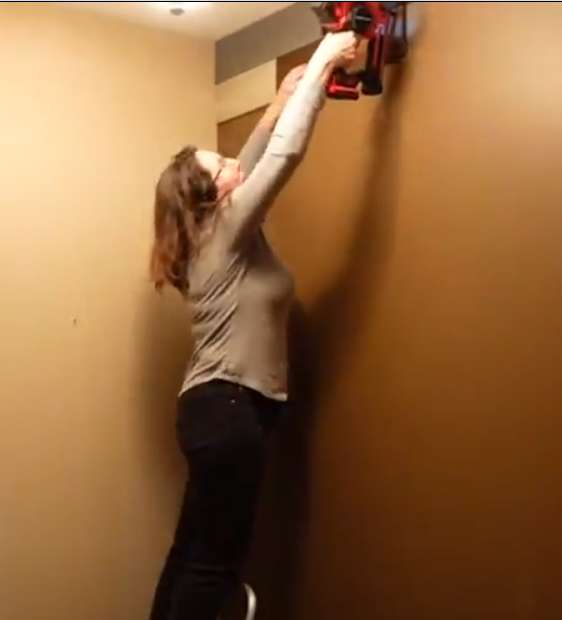
7. Once the boards were dry, we started at the top left corner of the wall and, using a nail gun with 2″ brad nails, secured each board, in number order, to the wall with a nail in each of the 4 corners.
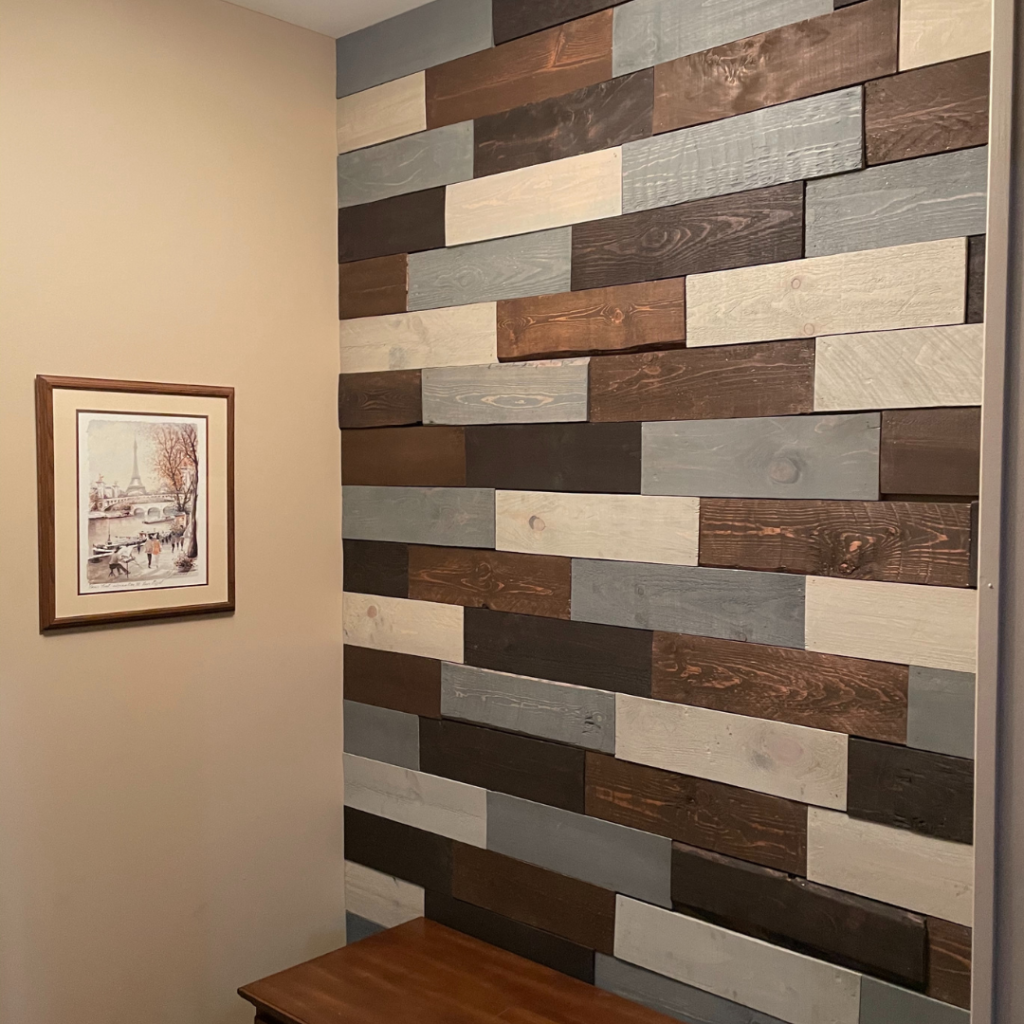
And voila! It was done! I’m absolutely thrilled with the results! You can find the complete video tutorial on my YouTube channel here: https://youtu.be/3aw7Ph8WuFM

Leave a Reply